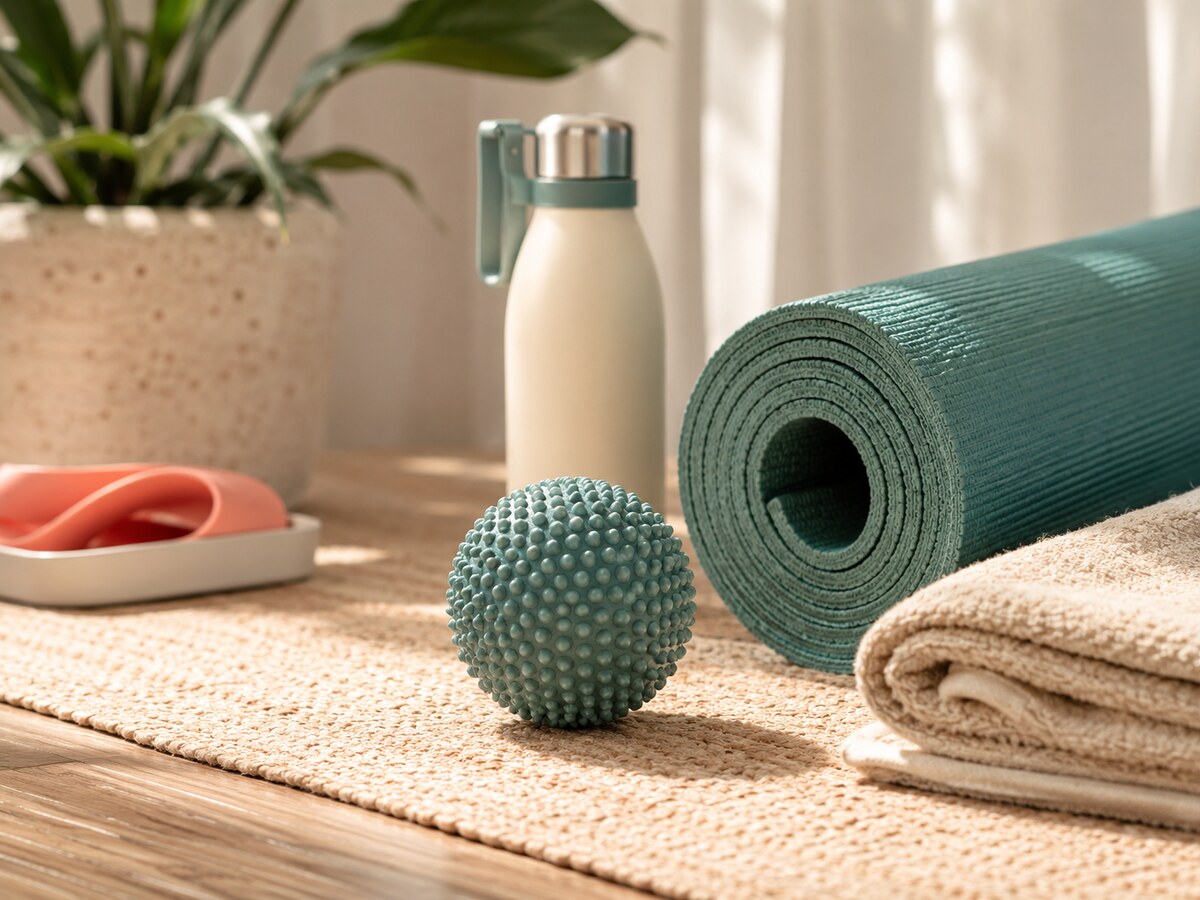
A silicone massage ball is a compact tool for applying controlled pressure to broad muscle areas. Used against a wall or floor, it can support a short comfort routine after work, travel or exercise. More pressure is not automatically more effective, and the goal should never be to tolerate sharp pain.
The guidance below is for general wellness, not diagnosis or treatment. If you are pregnant, injured, recovering from surgery, taking medication that affects bruising, or managing a medical condition, ask a qualified health professional whether this type of self-massage is appropriate.
Begin with the wall, not the floor
A wall gives you more control because you can change pressure by stepping closer or farther away. Place the ball between your body and a stable wall, lean gently and make small movements. The floor uses more body weight and can feel much more intense, so progress only when a lighter method feels comfortable.
The Dual-Texture Silicone Massage Ball uses broad grooves on one side and raised rounded texture on the other. Start with the gentler surface and short contact.
Use a simple pressure scale
Think of intensity on a scale from 1 to 10. Begin around 2 or 3: noticeable pressure without guarding, holding your breath or changing posture. A mild tender sensation may ease as you stay relaxed, but sharp, electric, burning or numb sensations are signs to stop.
Keep breathing normally. Move slowly and avoid bouncing on the ball. One or two minutes in a broad area is enough for an introductory routine; extended, aggressive pressure can irritate tissue.
Foot routine
- Sit in a stable chair with both feet near the floor.
- Place the ball under one foot and apply light weight.
- Roll from the heel toward the forefoot in slow lines.
- Avoid pressing directly into painful joints or damaged skin.
- Continue for 30 to 60 seconds, then compare both feet before switching.
Standing greatly increases pressure and balance demand. Use support and progress gradually, or remain seated if you are unsure.
Upper-back routine
Stand with the ball between the wall and the muscular area beside the shoulder blade. Do not place it directly on the spine, front or side of the neck, or the point of the shoulder. Bend and straighten your knees slightly to move the ball a few centimeters at a time.
Keep your shoulders relaxed. If reaching or twisting to position the ball causes discomfort, stop and choose a different method.
Glute and hip-area routine
Use the ball against a wall first. Place it over the broad muscular area of the glute, not directly on the hip bone. Shift your weight slowly and make small circles. Limit the range so the ball remains controlled.
Stop if you feel symptoms traveling down the leg, numbness or sharp pain. These sensations are not a signal to press harder.
When to use the textured side
A textured surface creates more distinct contact points. It may feel useful through clothing or on broad muscular areas, but it is not appropriate everywhere. Avoid thin, highly sensitive, bruised or irritated areas. Start with less body weight than you would use on a smooth ball.
Choose the surface based on comfort, not on the assumption that stronger sensation produces a better result.
Build a short post-workout routine
- Walk or move gently for a few minutes before using the ball.
- Select one or two broad muscle groups instead of pressing every tender spot.
- Use controlled pressure for 30 to 60 seconds per area.
- Finish with comfortable movement rather than staying still.
- Allow recovery time before repeating intense pressure on the same area.
Clean and inspect the ball
Wash the surface with mild soap and water, rinse thoroughly and let it dry before placing it in a bag. Inspect textured areas for tears, cuts or permanent deformation. Store the ball away from sharp tools and excessive heat. Follow the product instructions for disinfectants or other cleaning methods, and review our general Product Care guidance.
Stop and seek advice when needed
Do not use the ball over acute injuries, unexplained swelling, broken skin, recent surgery, areas with reduced sensation or places where a clinician has told you to avoid pressure. Stop for sharp pain, numbness, weakness, dizziness or symptoms that persist after the session.
Frequently asked questions
How long should I use a massage ball?
Start with 30 to 60 seconds in one broad area and assess how you feel. Short, controlled sessions are more useful than forcing prolonged pressure.
Can I use it directly on my spine?
No. Work on broad muscular areas beside the spine and avoid direct pressure on bones, joints and the front or side of the neck.
Should self-massage hurt?
Pressure can feel noticeable, but sharp, electric, burning or numbing pain is a reason to stop. Do not use pain tolerance as a target.
Explore more general-use tools in the SILIVEX Wellness & Recovery collection.
Product construction and care limits vary. Check the instructions supplied with the exact item and contact SILIVEX when you need help comparing options.